Cockpit Devices
General
Cockpit Devices are primarily intended to simulate the EFIS screens of CPU based devices, which have become the norm in many cockpits. Using XP2B, you can designate a Mesh Object (usually a single quad plane) as a named Cockpit Device through its Material assignment and that Mesh Object will be textured with software generated graphics specific to that Device Name. Cockpit Device screens may also be popped out into their own X-Plane window.
Laminar Devices
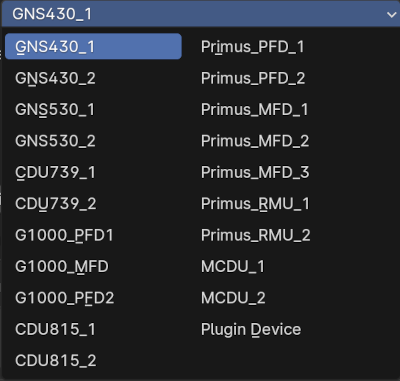
XP2B provides the following selection of Laminar Cockpit Devices via a pulldown menu. Control Inputs to these default Cockpit Devices are implemented via Manipulators/Commands.
- GNS_430_1 (G430)
- GNS_430_2 (G530)
- GNS_530_1
- GNS_530_2
- CDU_739_1
- CDU_739_2
- G1000_PFD1
- G1000_MFD
- G1000_PFD2
- CDU_815_1
- CDU_815_2
- Primus_PDF_1
- Primus_PDF_2
- Primus_MFD_1
- Primus_MFD_2
- Primus_MFD_3
- Primus_RMU_1
- Primus_RMU_2
- MCDU_1
- MCDU_2
- Plugin Device
Implementation
Implementing a Cockpit Device into your OBJ is a five step process:
- Create a polygon for your Device screens
- Create a dedicated material for the Device, assign that material it to your screen polygon. If you have multiple devices in your cockpit, then you need to create a dedicated material for each Mesh Object.
- Select the Device ID
- Assign the Device to an electrical Bus
- Configure input controls / manipulators
Custom Devices
To implement a Custom Cockpit Device provided by a third party developer, then you simply need to enter the Device ID (Name) of the device, which should be provided by the third party developer.
NOTE
Third-party plugin developers can create their own Cockpit Device using Laminar's XPLMAvionics API.